How to grow your own Potatoes
Crispy roasts with fluffy insides, creamy mash with a sprinkle of cheese, salted crisps for snacking and chunky chips to smoother in vinegar – We all love a good potato, and they are easy to grow in your own home even if you don’t have a garden available.
Potatoes are grown from seed potatoes and whilst they may look like your everyday spud they are specially grown and left untreated, allowing for eye development which is essential for successful crop production.
Seed Potatoes will also be certified as disease free which cant be guaranteed from your supermarket spuds!
Getting Started
There are many varieties of Seed potato out there and they all fall into one of three categories. For more information on specific varieties of potatoes check our information here
First Early
Otherwise known as new potatoes, these first earlies are just that, the first potatoes to be sown and the earliest harvested. Some great varieties include the Orla, rocket and swift.
Second Early
Not a brain teaser here, the second earlies should be planted around the same time, if not a few weeks later – as the firsts and are harvested later as they take a few extra weeks to mature. Some great varieties include the Maris Peer, Charlotte, Saxon and Marfona.
Maincrop
The larger varieties in the main crop family are planted deeper in mid-April and take longer to mature over the summer before they are harvested. In this time, they produce bigger tubers of some of our household favourites such as: Â Desiree, Maris Piper and the King Edward.
Your first earlies and second earlies will want to be planted right after the last frosts have passed with appropriate frost protection in place. This is usually around March. Maincrop requires warmer conditions and should be planted mid to late April.
Chitting your potatoes
Before we do anything else with our seed potatoes we must ‘chit’ them. Ever opened the store cupboard and noticed your potatoes beginning to sprout? Well, these sprouts are called the ‘eyes’, which may sound unappealing but allowing them to grow will give your crop a head start before it sees the soil.
- Arrange your seeds with their eyes up in an egg box or seed tray. (don’t forget to label them)
- Place in a cool room that receives lots of indirect light.
- When the sprouts have reached approximately 2cm in length, they are ready for planting.
This process takes around 6 weeks and should be done before planting, so consider this time factor when planning your potato crop.
@bellplantationgc How to get to our Playbarn! 👩🌾
♬ original sound - Bell Plantation GC
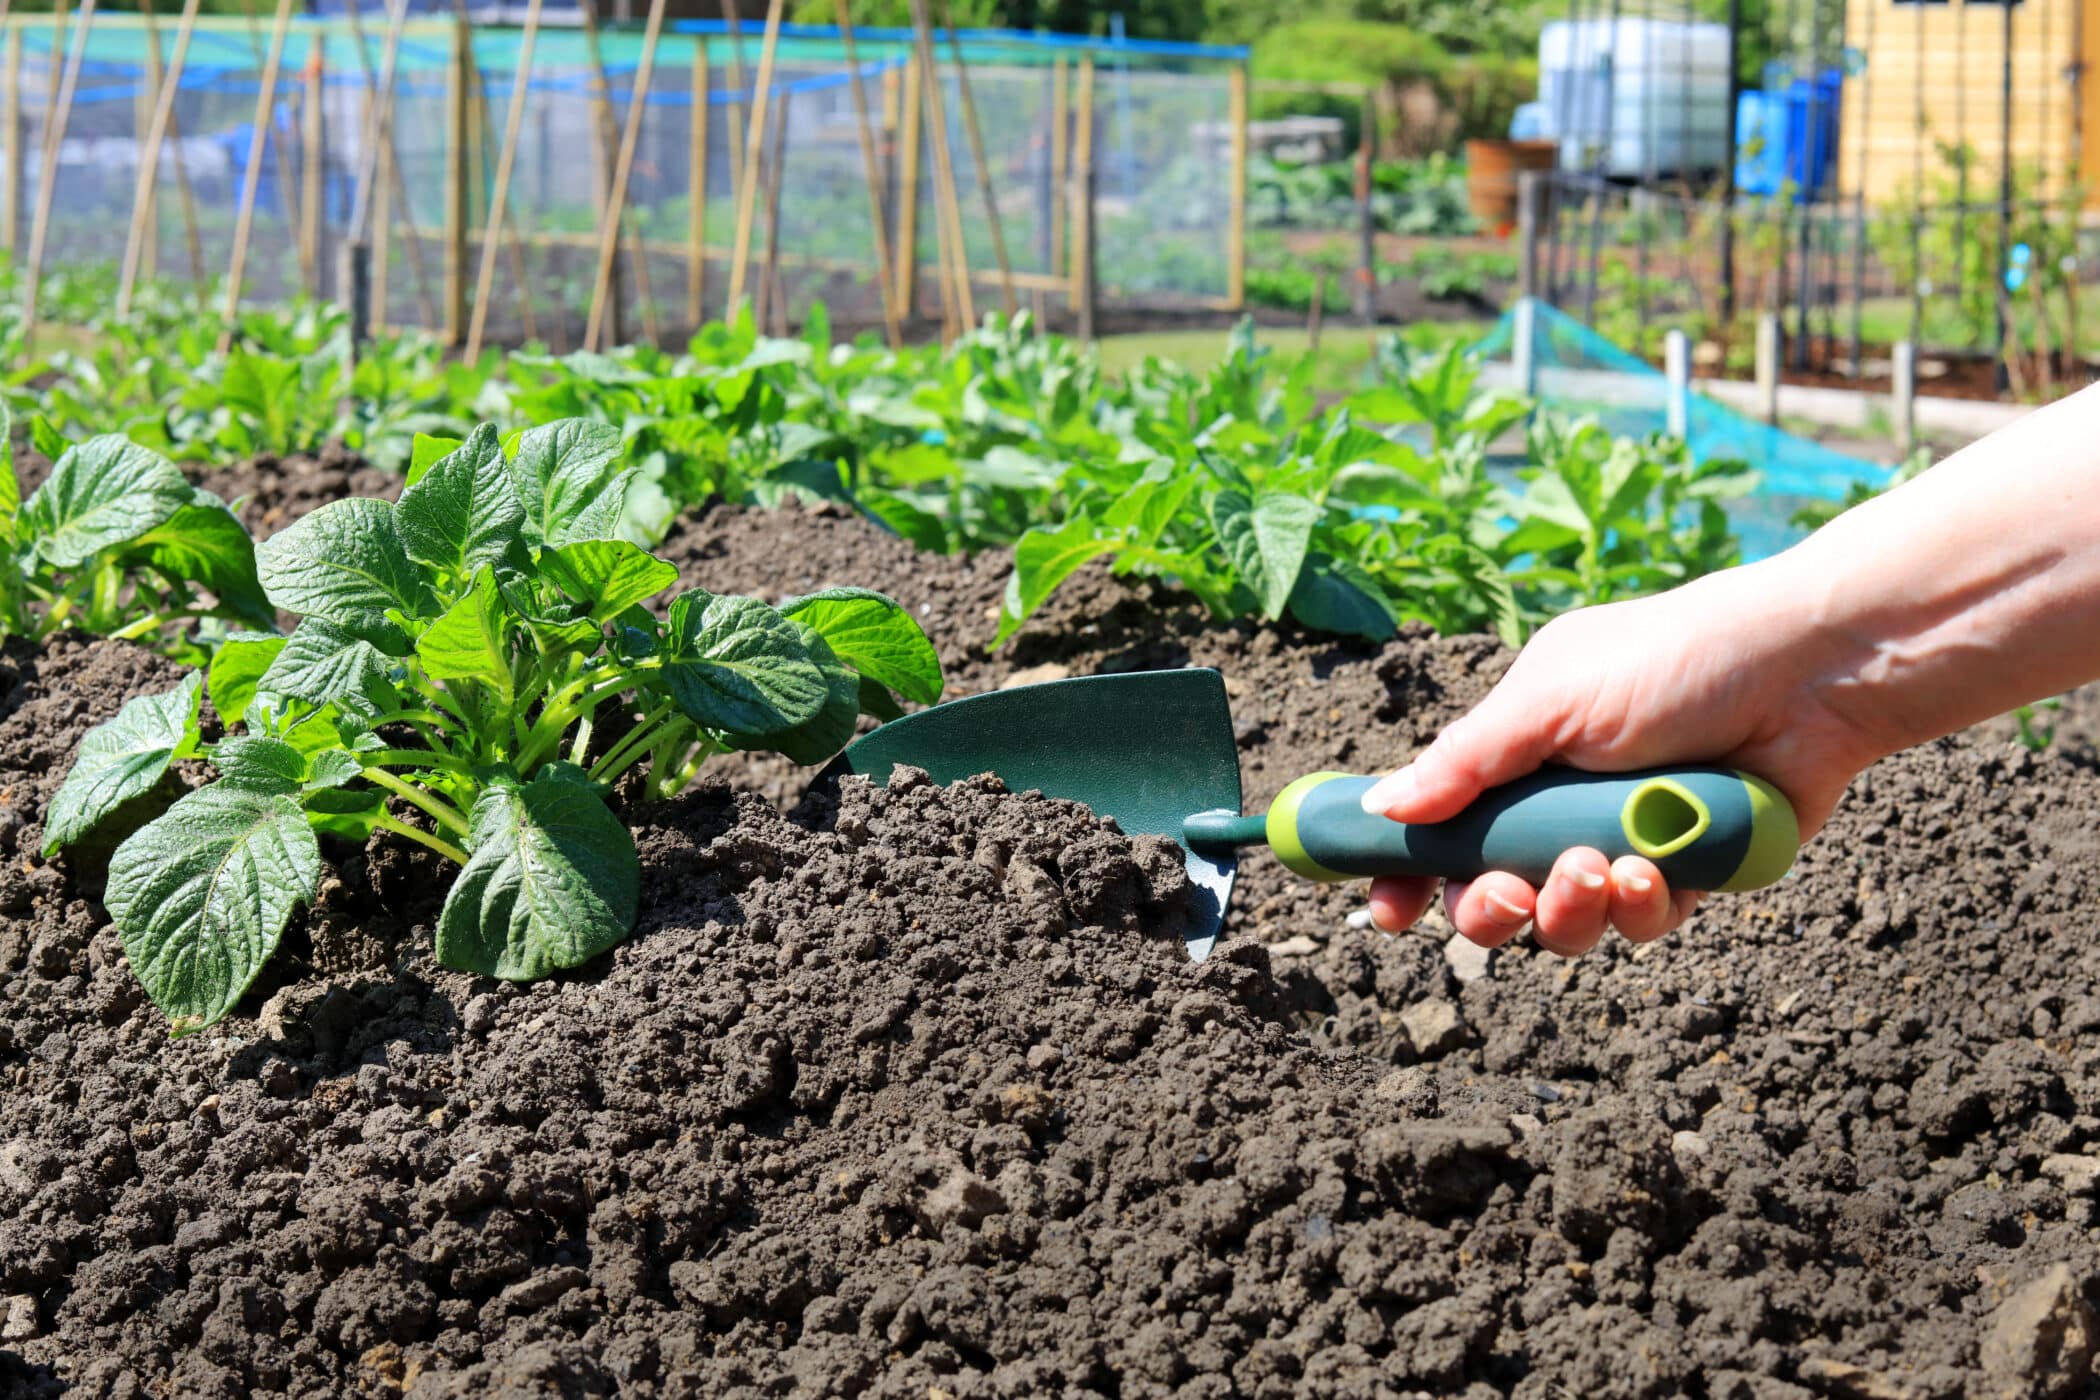
Planting directly into the ground
Now we have our chitted potatoes we are ready for planting! This section is about planting directly into the ground, but you can scroll ahead to planting in containers if plan on doing it that way here.
Pick a sunny and frost-free area for your potatoes.
For your first and second earlies you will want to dig straight trenches into the soil 12cm deep, 30 cm apart with 60cm between each row. Maincrop potatoes require more space so plant those to the same depth of 12cm but keep them 38cm apart with 75cm between each row.
Plant the seeds with the shoots facing upwards and cover them with compost.
To care for your crop, you will want to water it regularly, especially during the dry weather. If it looks dry, give it a drink. Make sure you also keep the soil free of any weeds and follow the earthing up practice explained below
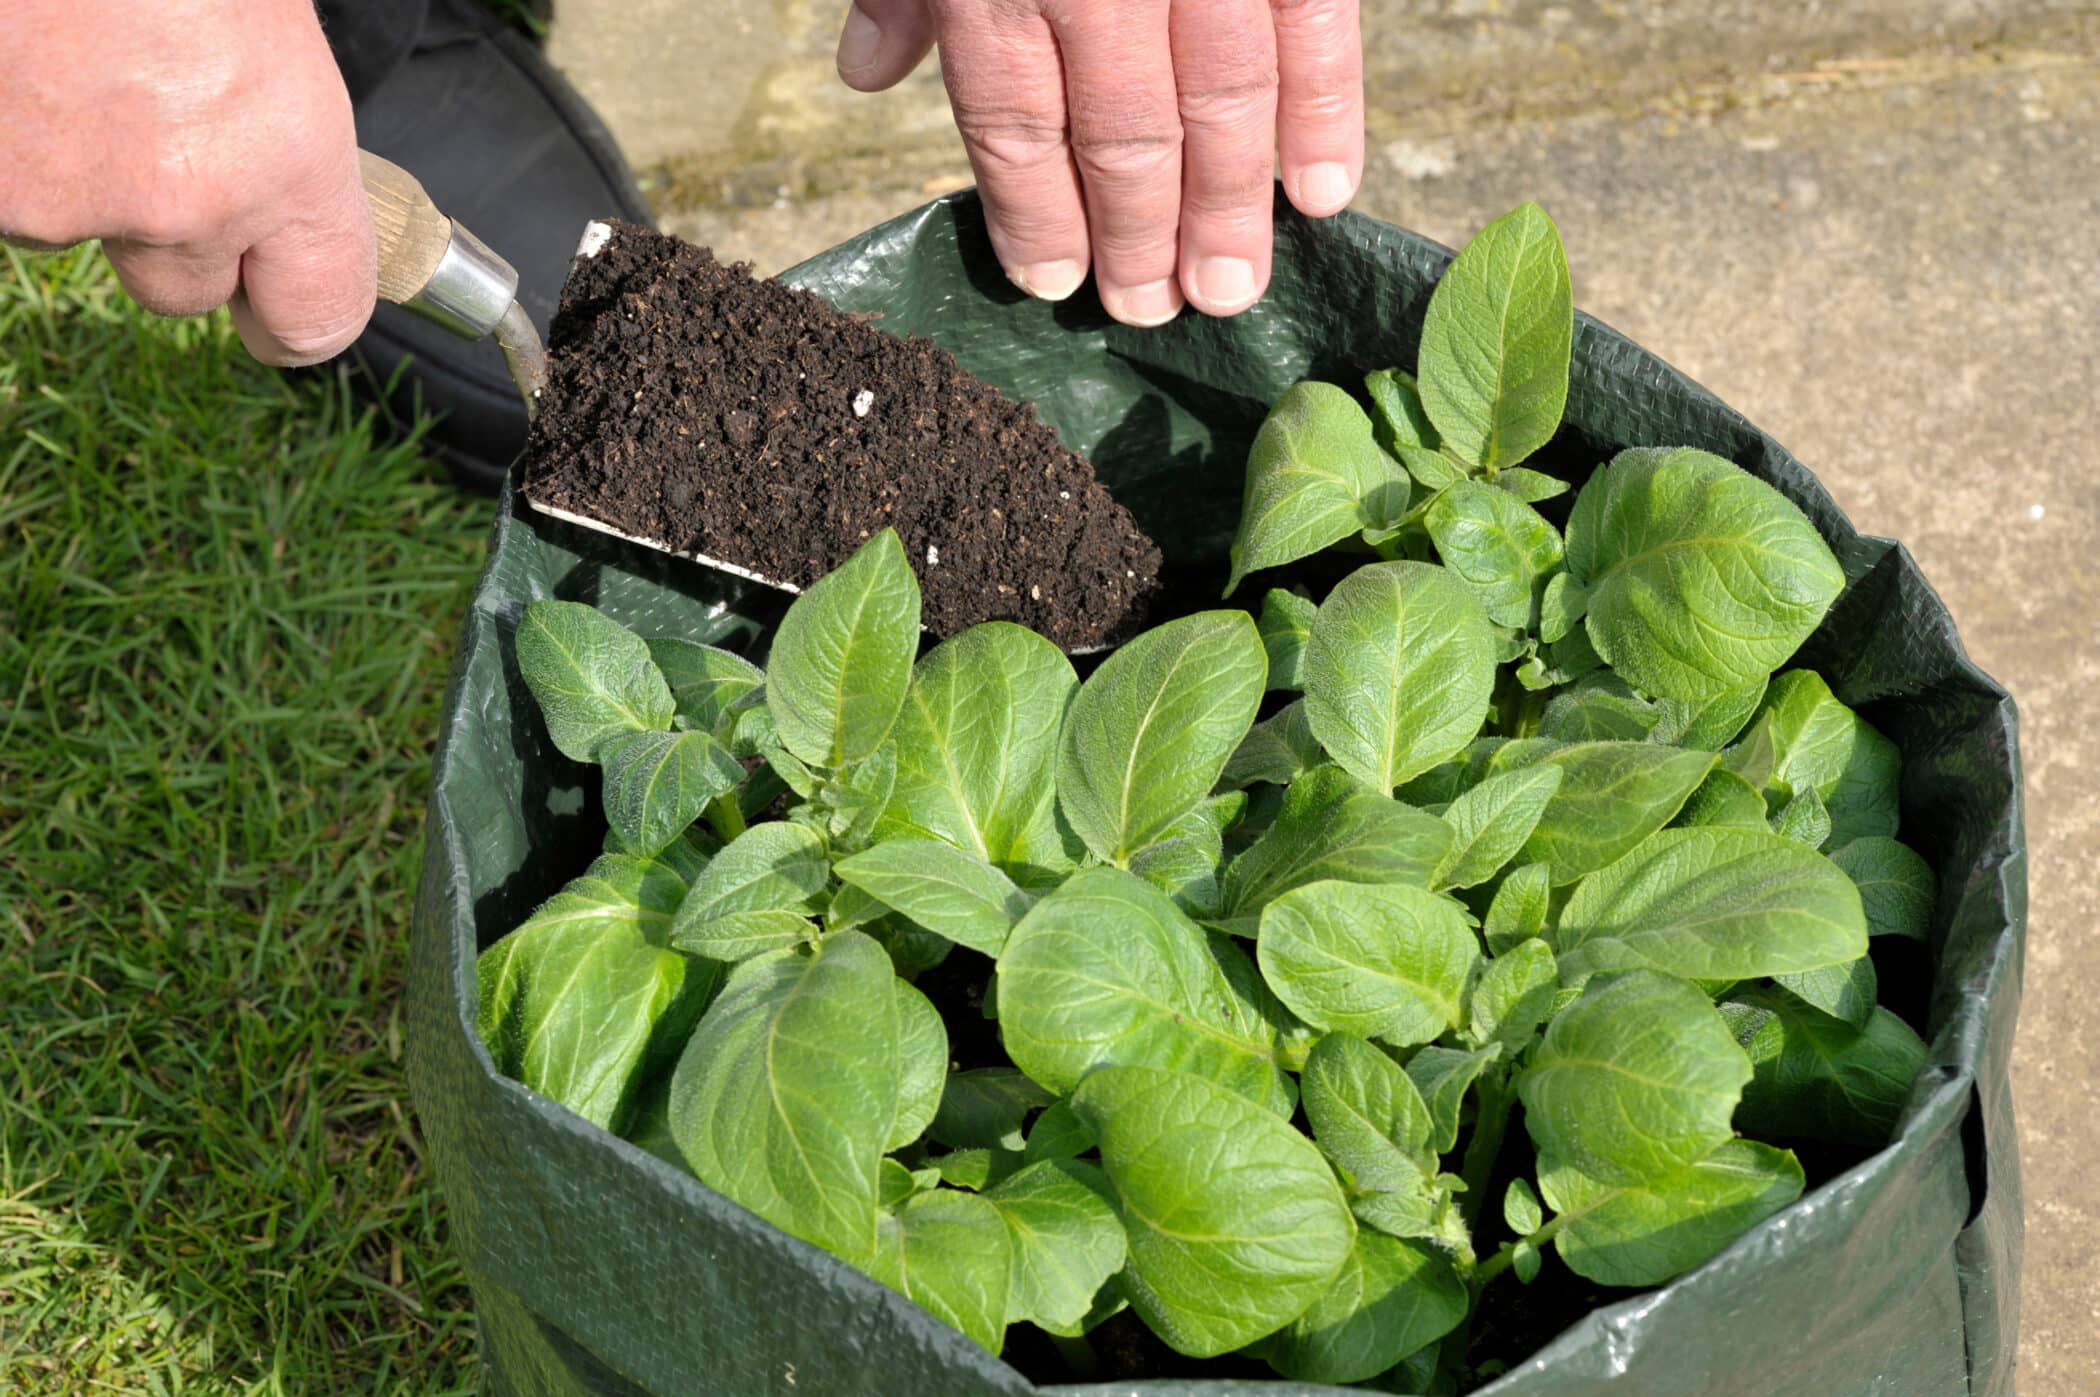
Planting in tubs and bags
For your bagged potatoes you will want to pick a sunny, sheltered spot for them to grow.
If you are using a grow bag, Roll down your bag so that it is around a third of its usual height.
Place about 3 to 4 inches of soil into the bottom of your chosen container and plant your potatoes shoots facing up- into the soil, ensuring that they are equally spaced out. Add another 2 to 3 inches of soil on top, covering the shoots.
To care for your crop, you will want to water it regularly, especially during the dry weather. If it looks dry, give it a drink. Make sure you also keep the soil free of any weeds and follow the earthing up practice explained below.
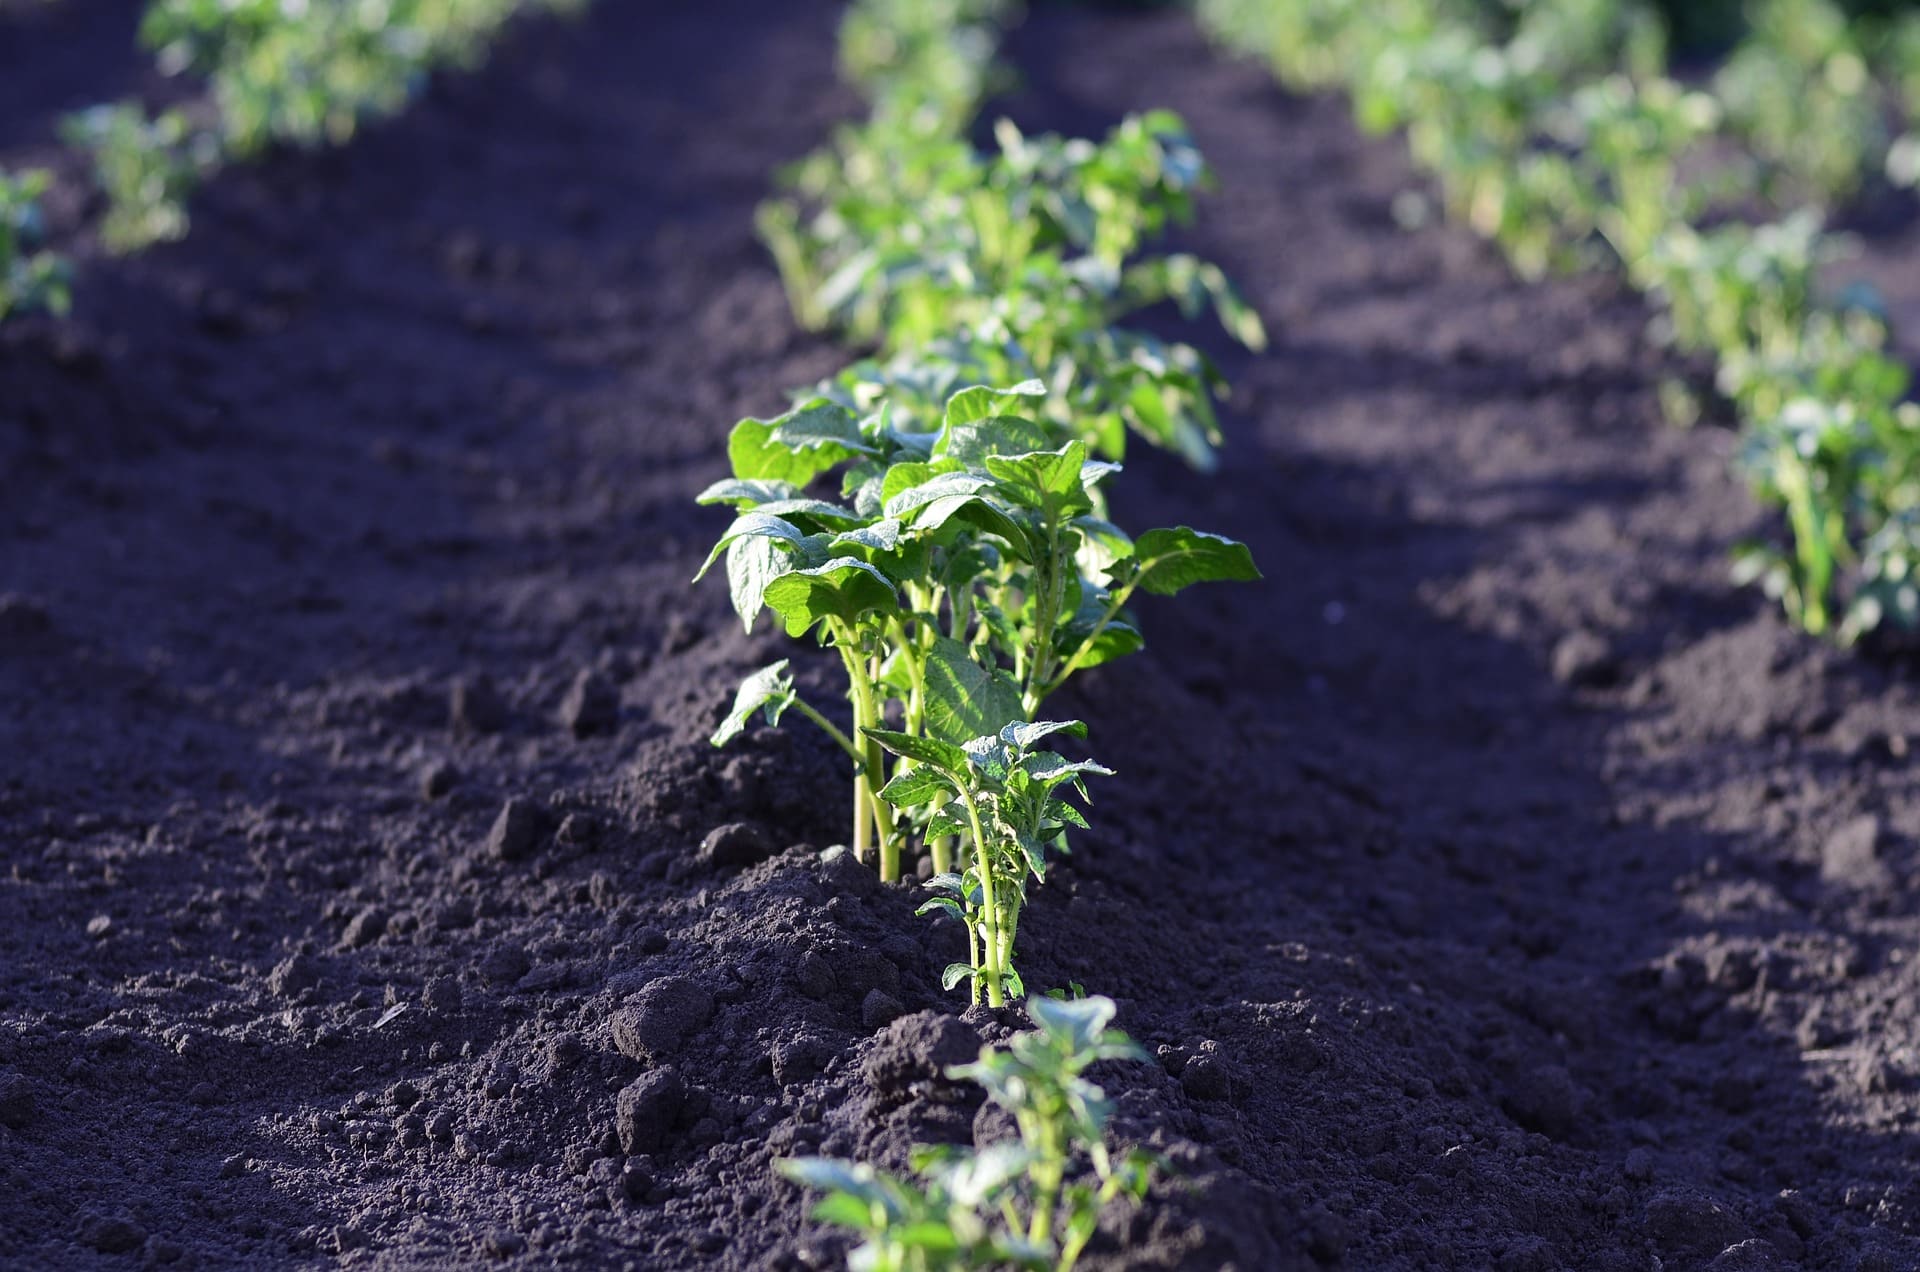
Earthing Up
As seedlings begin to appear you will need to add more soil. Once your sprouts reach around 2 to 3 inches in height, you’ll need to add more soil around the stem until it reaches around halfway up the shoot. This stops the light from getting to the potatoes and turning them green as they grow closer to the surface. Repeat this process every couple of weeks, creating small mounds around the potato.
Remember – A green potato is a poisonous one.
If growing in a bag, you’ll want to unroll the bag a little each time you add more soil.
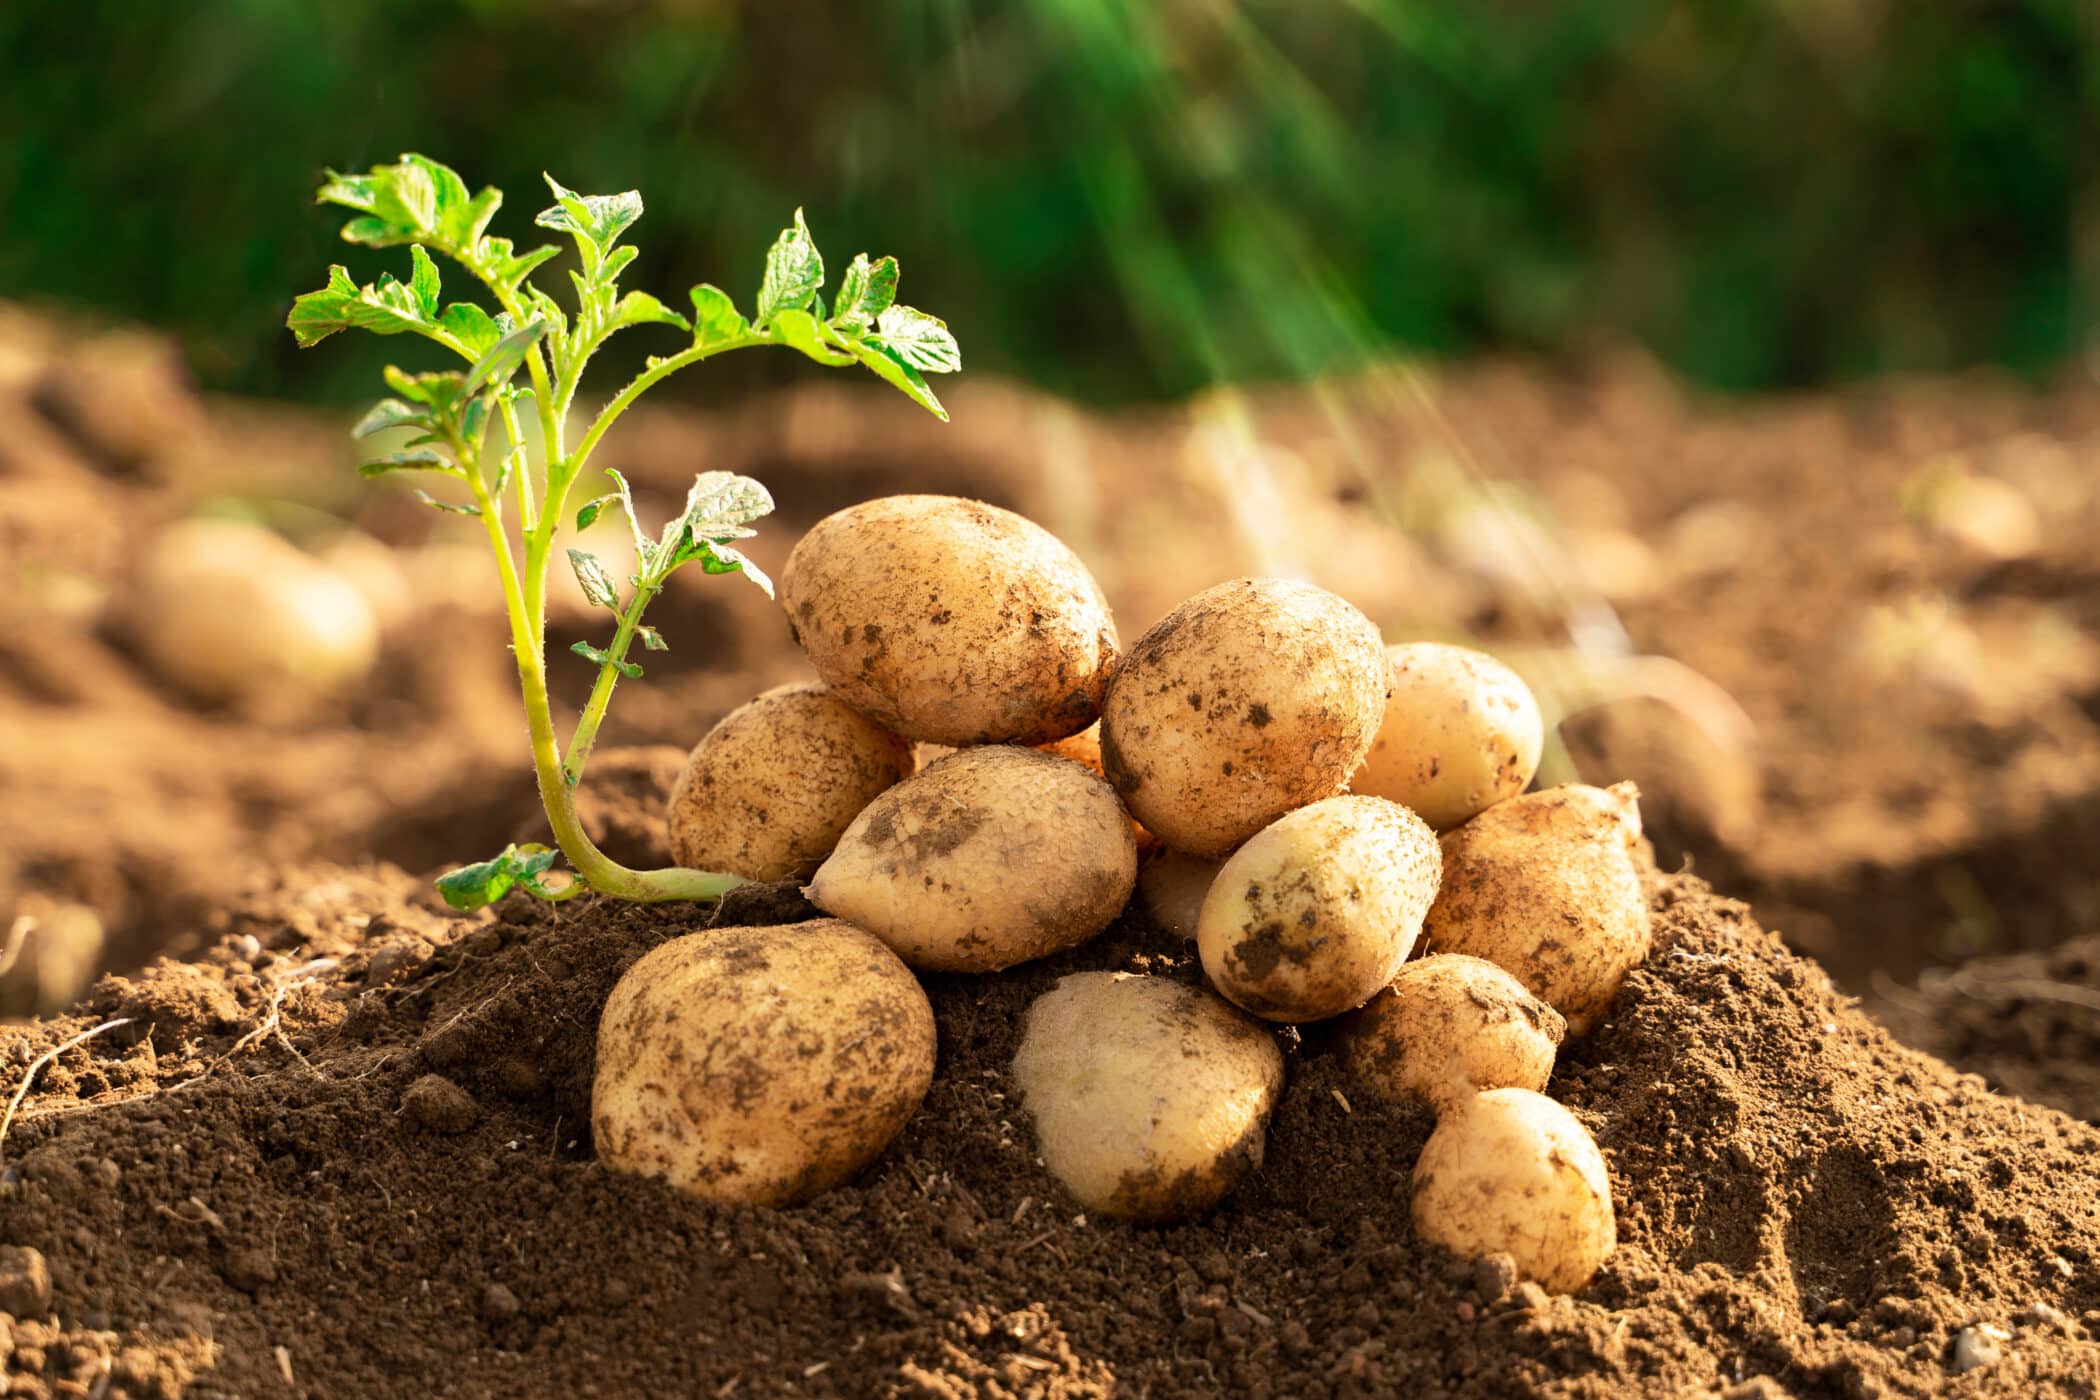
Harvesting your potatoes
Your first and second earlies won’t store well so its best to harvest your potatoes as and when you will need them.
Refer to the general guidelines of:
First earlies should be harvested in June / July whilst the potato is flowering. Check the size of your potatoes as they should be roughly the size of a hen’s egg.
Second earlies should be harvested in July / August whilst the potato is flowering. Check the size of your potatoes as they should be roughly the size of a hen’s egg.
Once your maincrop potatoes have flowered, you’ll want to leave them for a further 2 to 3 weeks for the leaves to begin to yellow. This allows the skin to harden which will help you with storing your new crop. Cut the foliage off and leave a further 10 days before you harvest.
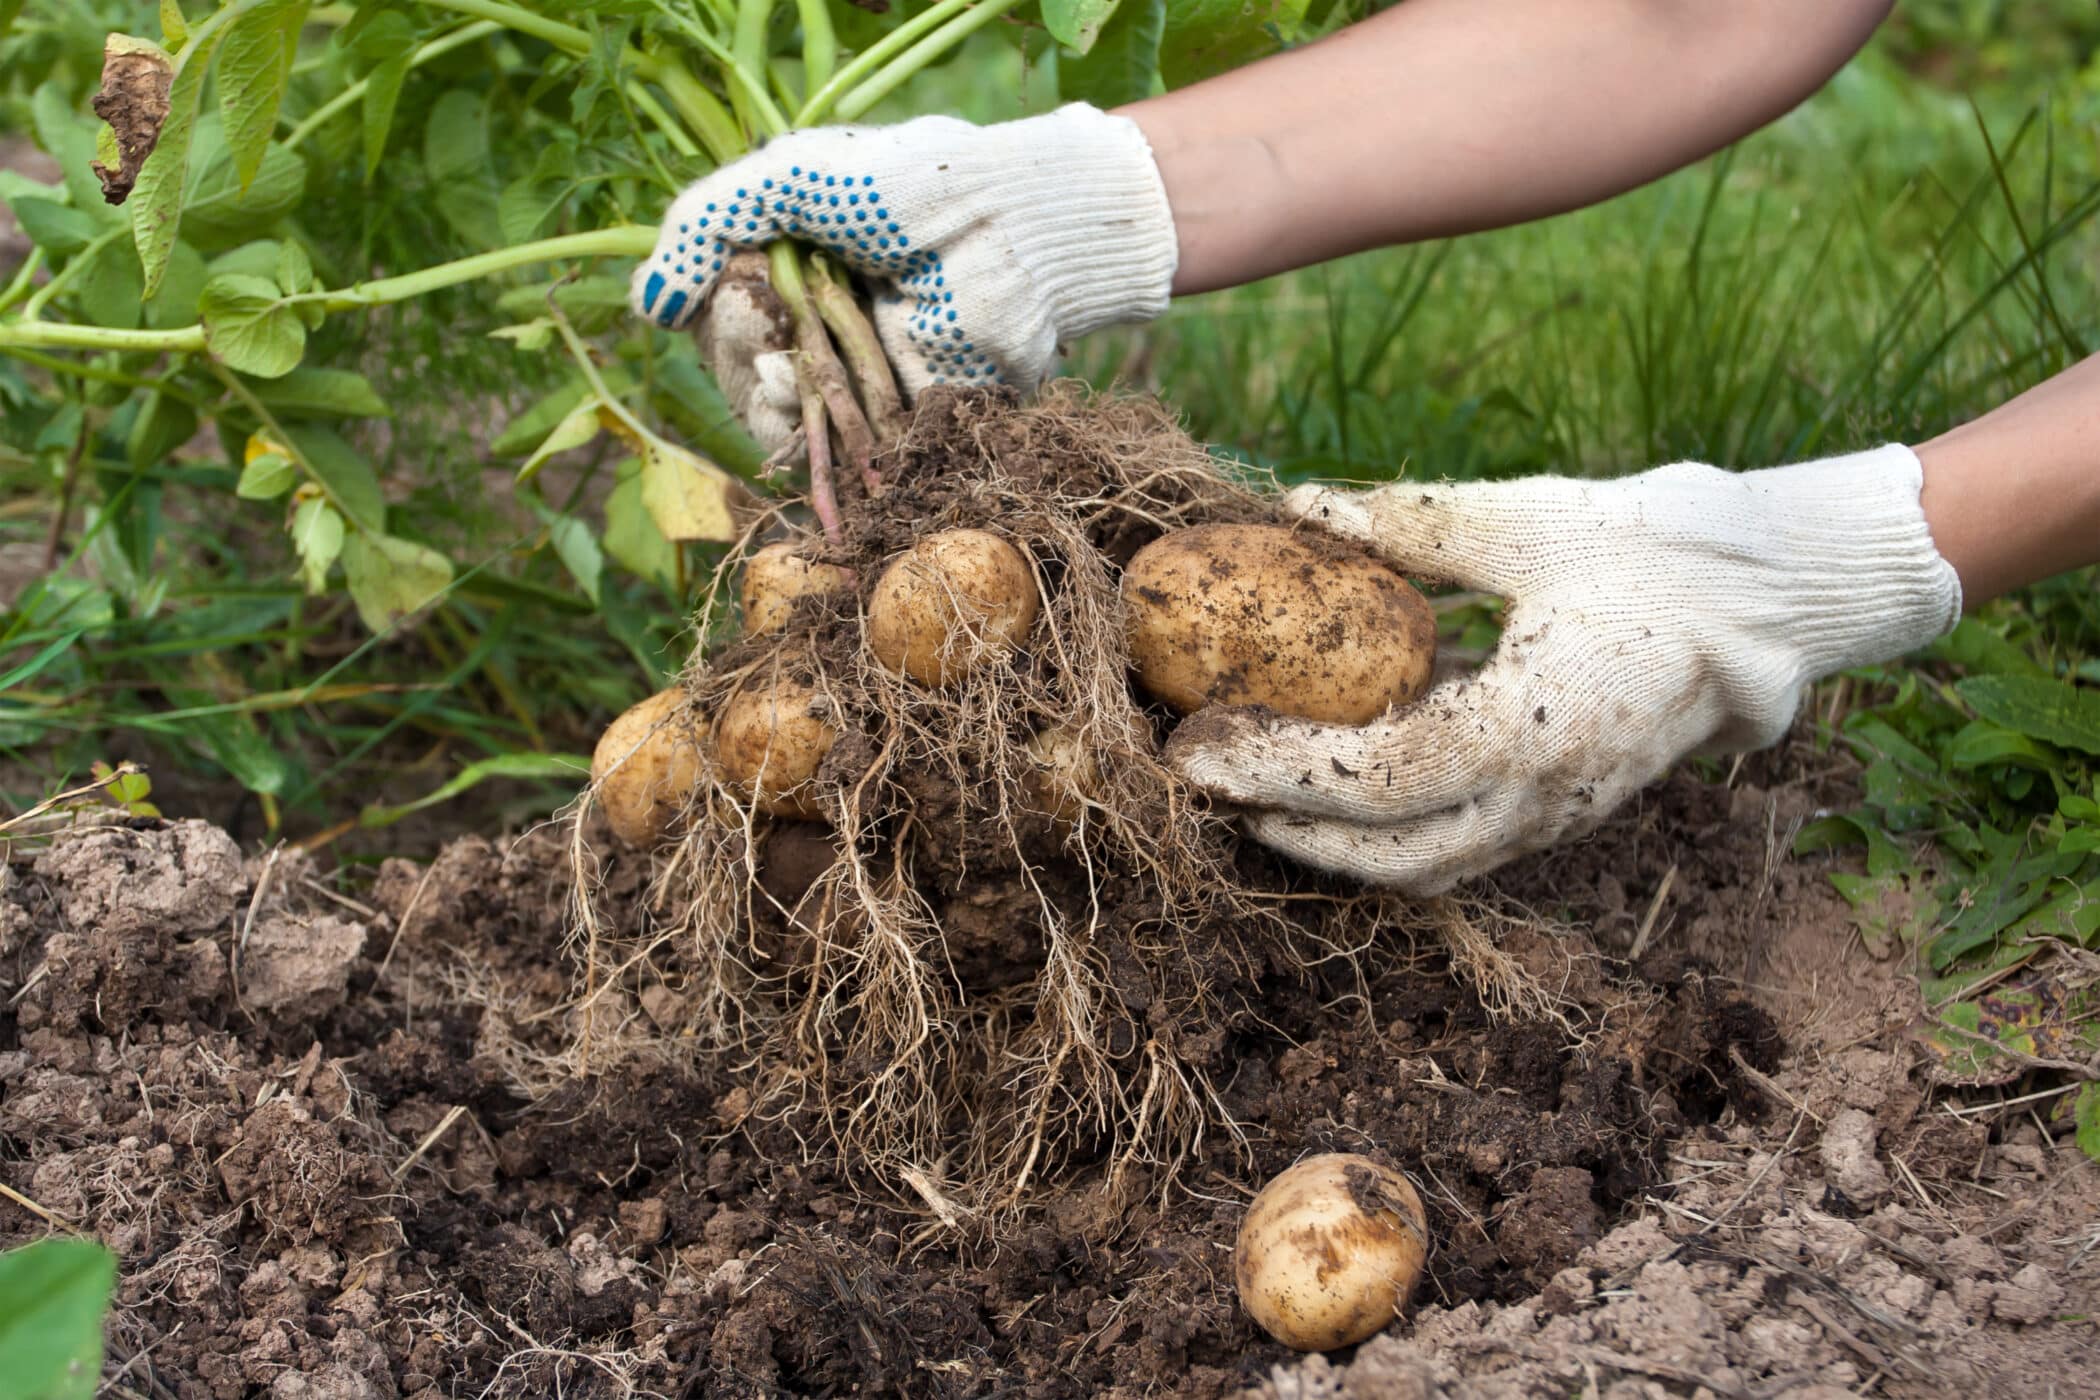
To harvest simply grab your fork and dig them up taking care not to spear any spuds.